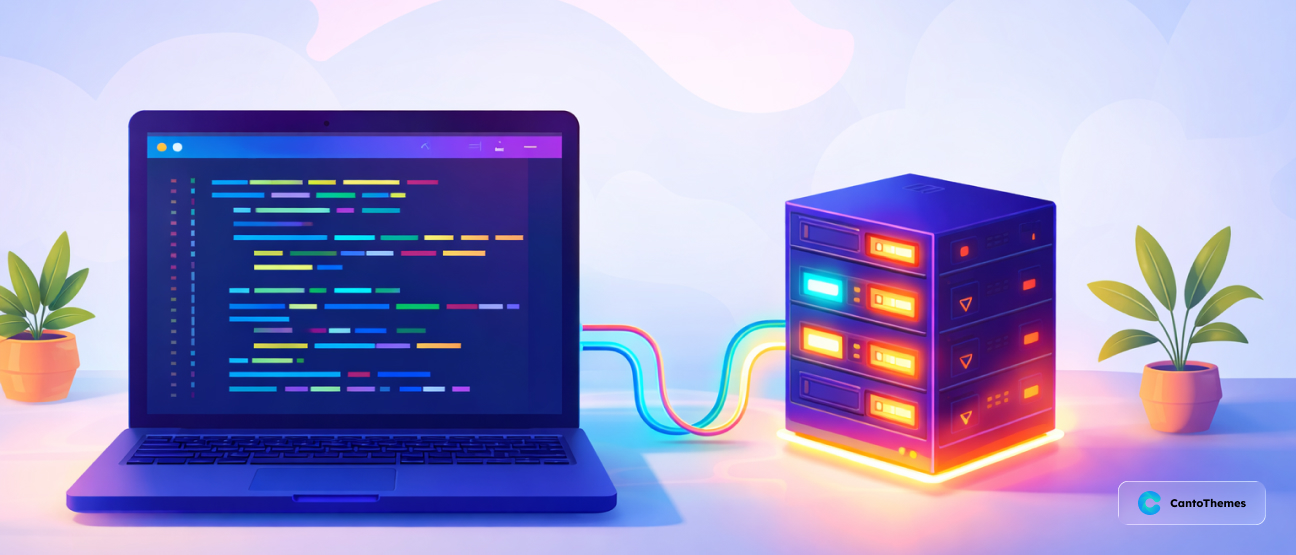
Building, modifying, or aggressively overhauling a WordPress website directly on a live production server is an incredibly risky endeavor. One single typo in a functions.php file, a sudden plugin conflict during an update, or a slightly misconfigured database query can crash your site instantly. This leaves your visitors staring at a terrifying “White Screen of Death” or a critical error page while you scramble in a panic to fix the issue via FTP. The professional, stress-free, and infinitely more efficient alternative is local WordPress development.
Setting up a local development environment means running a web server—and a fully functional, lightning-fast WordPress installation—directly on your own computer’s hard drive, completely offline. In this comprehensive, developer-focused guide, we will explore exactly why you need a local setup, intensely compare the best tools available on the market, and walk through the exact, step-by-step process to get your local server for WordPress running in minutes. Furthermore, we will dive into advanced local workflows like securely pulling live databases, intercepting local emails, and conquering frustrating SSL certificate errors.
Why You Need a Local Development Environment
If you are accustomed to building sites via your hosting provider’s cPanel, constantly uploading files via FTP, or using a live “staging” URL provided by your web host, moving to a strictly local workflow offers dramatic, immediate improvements to your daily life. Every professional developer, agency, and serious tinkerer relies on local WordPress development for these core, undeniable reasons:
- Blazing Fast Speed: Without relying on internet connection speeds, latency, or remote server response times, saving a file or refreshing a page happens instantaneously. You bypass the agonizing wait of uploading files. This significantly cuts down development time, allowing you to enter a true “flow state” of coding.
- Absolute Zero Risk to Live Sites: You can test massive structural theme changes, update major core plugins, or write highly experimental PHP code without a single worry about breaking your live site. If you completely destroy the local site, no one sees it but you, and you can simply spin up a fresh one in seconds.
- Work Entirely Offline: You can build, design, and code from an airplane at 30,000 feet, a coffee shop with spotty Wi-Fi, or during a massive neighborhood internet outage. Offline WordPress development gives you complete, untethered freedom.
- Highly Cost-Effective: You don’t need to pay for extra hosting accounts, expensive add-on staging environments, or domain names just to test a new theme idea, build a proof-of-concept demo for a prospective client, or learn a new page builder.
- Superior Developer Tooling: Local environments integrate seamlessly with professional version control systems like Git, advanced debugging tools (like Xdebug), and powerful Integrated Development Environments (IDEs) like VS Code or PhpStorm.
Choosing the Right Local Development Tool
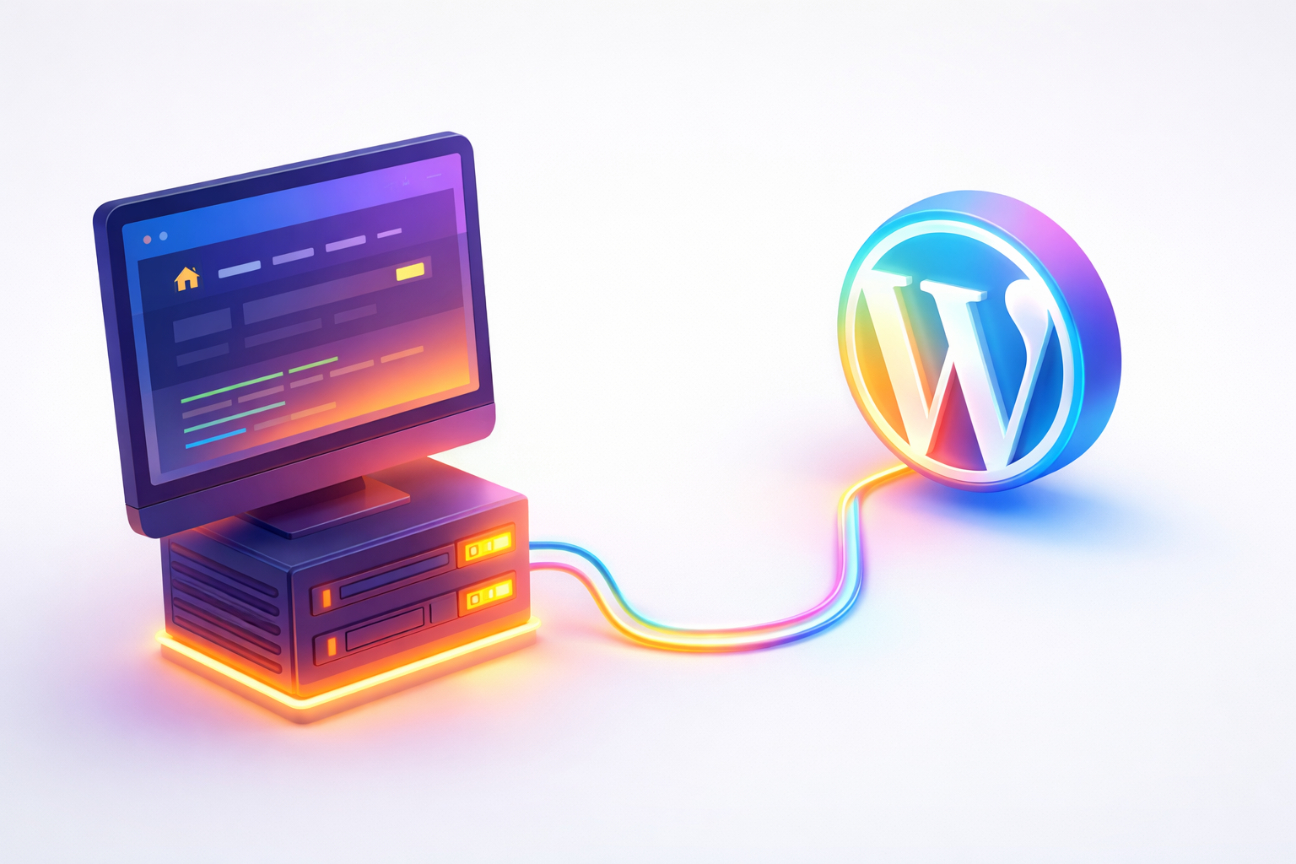
To run WordPress locally, your personal computer needs to simulate a fully-fledged web server. Specifically, it needs software that provides PHP (the programming language WordPress is written in), MySQL or MariaDB (the database system that stores all your content), and Apache or Nginx (the web server software itself that delivers the pages to your browser).
While you could theoretically install and configure all these components manually via the command line, modern developers use all-in-one software packages to automate the entire process. Here are the most popular, battle-tested options for your local development environment:
1. Local (formerly Local by Flywheel) – The Best for Beginners and Pros
Local is widely considered the absolute gold standard for WordPress developers today. It features a beautiful, intuitive, modern interface, allows you to spin up a new WordPress site with exactly three clicks, and operates incredibly fast.
- Pros: Exceptionally easy to use with zero configuration required, built-in SSL (HTTPS) support, effortless switching between different PHP and MySQL versions, and features a brilliant “Live Link” tool that uses ngrok to share your strictly local site with clients over the internet for quick approvals.
- Cons: It is primarily tailored for WordPress. It is slightly less ideal if you also heavily build complex Laravel or generic PHP applications on the side.
2. XAMPP / MAMP / WAMP – The Classic Stacks
These are the traditional, old-school server stacks. They install Apache, MySQL, and PHP directly onto your machine’s operating system. MAMP is heavily popular for Mac users, WAMP for Windows users, and XAMPP is a cross-platform solution.
- Pros: Highly customizable, fantastic for learning exactly how servers work beneath the hood, and excellent for hosting non-WordPress PHP projects.
- Cons: They feature clunky, outdated interfaces. They require entirely manual WordPress installations (you must manually create the MySQL database in phpMyAdmin, download the WordPress core zip file, extract it, and configure the
wp-config.phpfile by hand). They can also sometimes conflict with other port-heavy software on your computer (like Skype).
Get XAMPP → or Get MAMP → or Get WAMP →
3. Docker / DDEV – The Enterprise Standard
Docker utilizes “containers” to create highly specific, completely isolated server environments that don’t install software directly onto your main OS. DDEV is an open-source tool built on top of Docker that makes configuring it specifically for PHP and WordPress significantly easier.
- Pros: Environments can be configured to precisely match your production servers down to the exact sub-version of PHP. They are extremely powerful, easily shareable among massive developer teams via Git, and highly favored in large enterprise agency settings.
- Cons: A remarkably steep learning curve, requires solid command-line/terminal knowledge, and can consume massive amounts of system RAM and CPU resources.
Get Docker Desktop → or Checkout the official documentation for docker CLI installation
Step-by-Step: Setting Up WordPress with ‘Local’
Because of its unparalleled ease of use, speed, and incredibly powerful feature set tailored specifically for our CMS, we highly recommend using Local to install WordPress locally. Here is how to get your localWP setup running in under five minutes.
Step 1: Download and Install Local
Visit the official Local website and download the massive application file for your specific operating system (Mac, Windows, or Linux). Run the installer just as you would any other standard desktop application. It is a completely free tool.
Step 2: Create a New Site
Launch the Local app. Click the massive green “+” (Add Local Site) button in the bottom left corner. You will be prompted to choose a method. Select “Create a new site” and click Continue.
Step 3: Name Your Project
Enter the name of your site (e.g., “My Client Redesign Project”). Local will automatically generate a local URL (like my-client-redesign.local) and dedicate a folder path on your hard drive where the physical files will be stored. You can easily customize these under the “Advanced Options” dropdown if needed. Click Continue.
Step 4: Choose Your Environment
You will be asked to choose your server environment settings.
- Preferred: This uses carefully curated standard settings (usually the blazing fast Nginx web server, a very recent PHP version like 8.1+, and MySQL) that are guaranteed to work for 99% of modern WordPress projects.
- Custom: Allows you to specifically match your live production server (e.g., choosing older Apache instead of Nginx, or selecting an older PHP 7.4 version if your live host is legacy and requires it).
For most users starting out, simply select Preferred and click Continue.
Step 5: Set Up WordPress Credentials
Finally, create your WordPress administrator username, password, and admin email address. This is strictly for your offline local setup, so you do not need a highly complex, 24-character password like you would absolutely need on a live internet server. Using a simple “admin” and “password” is perfectly acceptable for local-only testing, saving you typing time.
Click “Add Site”.
Step 6: Start Developing
Local will now rapidly download the latest WordPress core, configure the database automatically, and set up the server routing. This usually takes about 10-20 seconds.
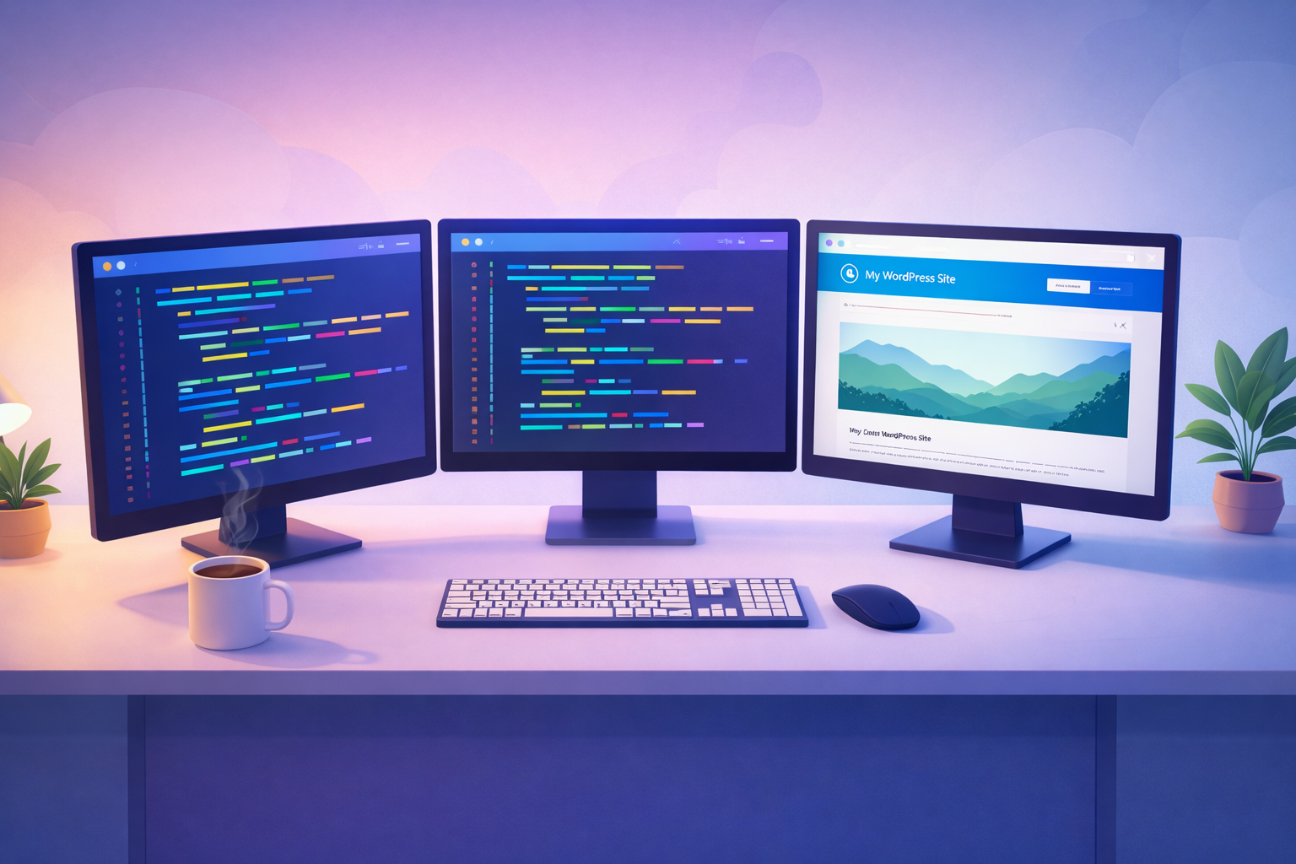
Once finished, your new site will appear in the left sidebar. Click the “Open Site” button to view the front-end in your default browser, or “WP Admin” to log directly into the backend dashboard.
To start coding themes or plugins, click the tiny arrow next to the site path under the site name. This instantly opens the folder containing your WordPress files (specifically the wp-content folder where your active themes and plugins live) so you can drag it directly into your code editor like VS Code.
Advanced Local Workflows
Once you have your local server running, you can graduate to advanced developer workflows that make building complex sites vastly easier.
How to Securely Pull a Live Site’s Database Locally
If you are redesigning an existing, live client site, starting with a blank local WordPress install is useless. You need their actual data (pages, posts, WooCommerce products, and plugin settings). You must pull their live database down to your local machine.
Method 1: Using WP Migrate (Formerly WP Migrate DB)
- Install the free WP Migrate plugin on both the live production site and your new local site.
- On the live site, go to the plugin settings and select “Export.”
- Ensure you select “Find and Replace.” You must tell the plugin to find the live URL (e.g.,
https://clientwebsite.com) and replace it with your local URL (e.g.,http://clientwebsite.local). Also, find the live server file path and replace it with your local file path. - Export the SQL file.
- Open your local site’s database using the “Open Adminer” or “TablePlus” button inside the Local app interface. Drop all existing tables, and import the SQL file you just downloaded.
Method 2: SSH/WP-CLI (For Advanced Users)
If you have SSH access to the live server, you can use WP-CLI to export the database rapidly: wp db export live-db.sql. Download that file, then use WP-CLI locally to search and replace the URLs: wp search-replace 'https://clientwebsite.com' 'http://clientwebsite.local'.
Local Email Testing (Intercepting Emails with MailHog)
When developing locally, you frequently need to test email functionality—like WooCommerce order receipts, password reset links, or contact form submissions. However, you absolutely do not want your local environment actually sending out hundreds of test emails to real clients or cluttering your own inbox. Furthermore, local servers often don’t have proper SMTP configured, meaning standard wp_mail() calls simply fail to send entirely.
The solution is an email catcher. Tools like Local come with a built-in utility called MailHog (or Mailpit).
- How it works: MailHog acts as a fake SMTP server. It intercepts every single email that WordPress attempts to send out. Instead of delivering them to the real internet, it traps them in a local, web-based inbox.
- How to use it in Local: Open your site in the Local app. Click on the “Tools” tab at the top. Click on “Mailpit” or “Open MailHog.” This opens a browser window showing an inbox. Go to your local WordPress site, submit a contact form or trigger a password reset. Immediately check the MailHog window—the email will appear there perfectly formatted. You can check the subject line, the HTML rendering, and ensure all dynamic tags worked correctly, completely safely.
Troubleshooting Local SSL/HTTPS Certificate Errors
Modern web browsers (especially Google Chrome) are extremely aggressive about security. If your local site is running on http:// instead of https://, or if it has a self-signed certificate the browser doesn’t recognize, Chrome will throw a terrifying, massive red “Your connection is not private” warning screen, blocking you from seeing your own local work.
You need to “Trust” the local SSL certificate.
- In Local: Go to your site dashboard in the Local app. Look for the “SSL” section. You will see a button that says “Trust.” Click it. Your operating system will prompt you for your administrator password to add this self-signed certificate to your computer’s trusted keychain. Once trusted, change your WordPress Site URL in Settings > General to use
https://. - Fixing Persistent Chrome Errors: Sometimes, even after clicking “Trust”, Chrome stubbornly refuses to load the local site, throwing a
NET::ERR_CERT_INVALIDerror. You can bypass this specifically for local development by typing a secret bypass code. Click anywhere on the red warning page in Chrome (don’t click the address bar, just the blank space on the page) and type the exact letters:thisisunsafe. The page will instantly refresh and let you in. (Only do this for.localor.testdomains you own, never on the real internet).
Moving from Local to Live
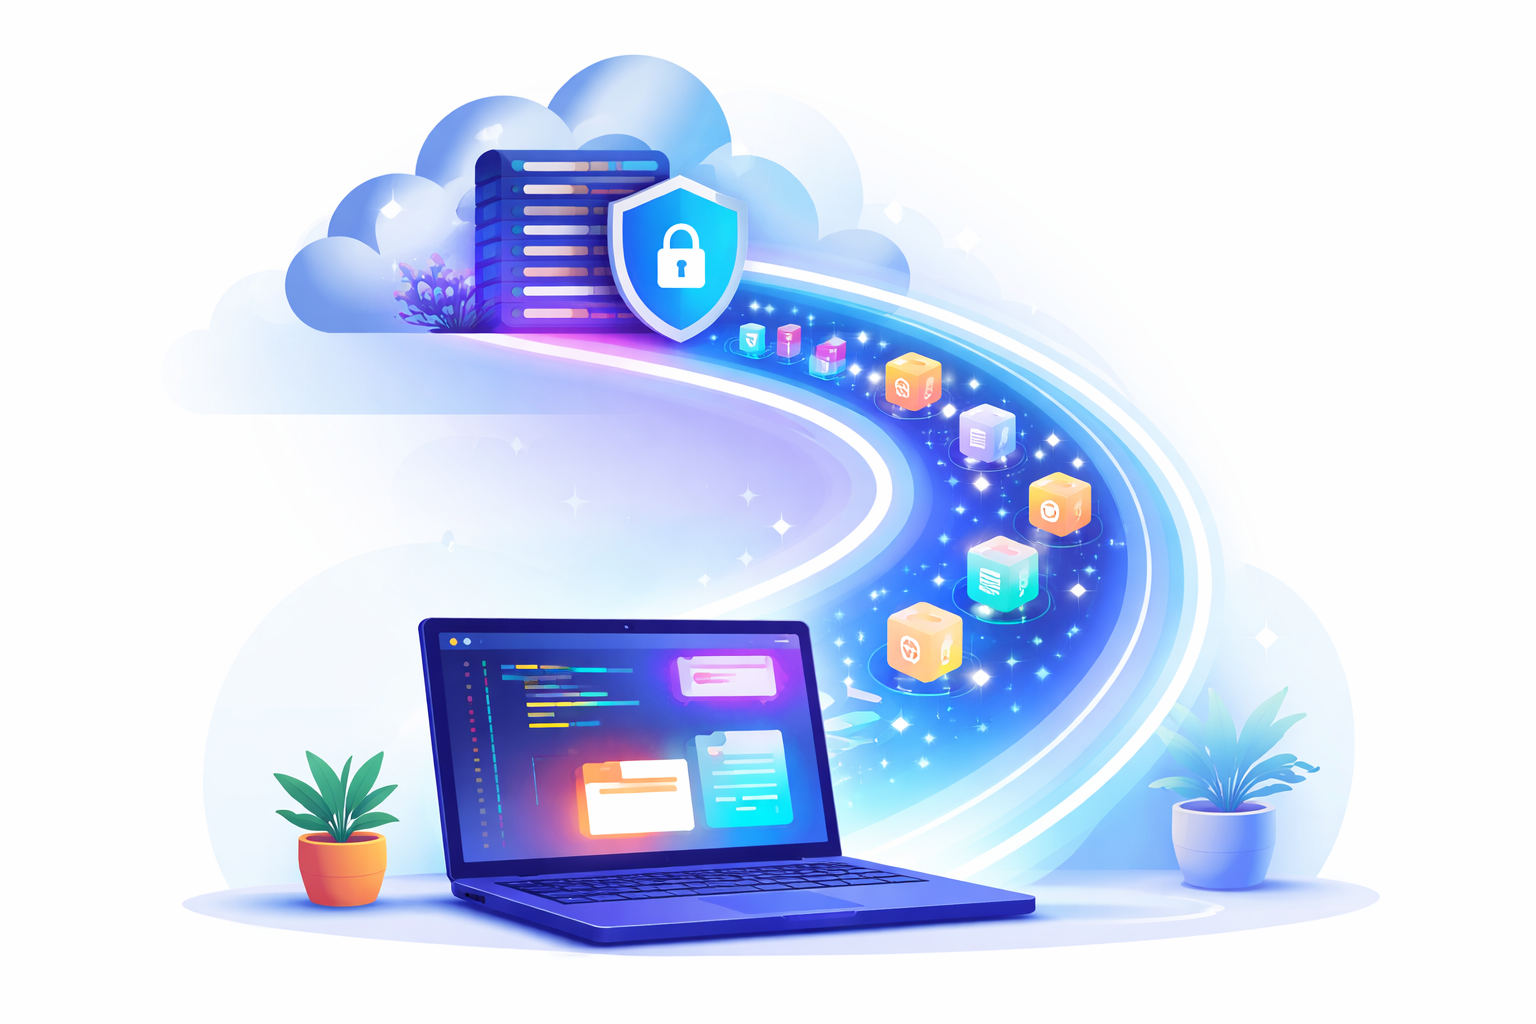
Developing locally is only half the battle; eventually, you need to push your finished, polished masterpiece to the live internet. Moving a local site to a production server can seem daunting, but modern tools make it flawless.
The most straightforward, reliable method is to use a dedicated migration plugin. Plugins like All-in-One WP Migration or Duplicator allow you to package your entire local site (all media files, plugins, themes, and the fully configured database) into a single, highly compressed archive file. You can then upload a fresh WordPress install on your live hosting environment, install the same plugin, and extract the archive, instantly replacing the live site with your local work.
If you are using Local, it also features incredible integrated “Connect” options that allow you to push your local site directly to managed premium hosts like WP Engine or Flywheel with a single click, automating the entire database search-and-replace process.
Conclusion
Setting up a robust local WordPress development environment is the single most important step in upgrading your workflow from an amateur tinkerer to a seasoned professional. By keeping your extensive development offline, you fundamentally protect your live sites from catastrophic errors, drastically increase your day-to-day coding speed, and unlock the ability to use incredibly powerful modern development tools, email interceptors, and database syncing workflows.
Whether you choose the beautifully streamlined interface of Local, the classic, hands-on approach of XAMPP, or the highly advanced containerized power of Docker, local development gives you the absolute freedom to build, break, experiment, and create massive WordPress sites without limits or fear. Download a local environment tool today and experience the dramatic difference immediately.
Leave a Reply